You’re in the middle of an intense gaming session, and suddenly your trigger stops responding correctly. You pull it all the way down, but nothing happens. Or it only registers halfway. Sound familiar?
I’ve been there. That frustrating moment when you can’t tell if your controller is broken or if there’s a simple fix you’re missing. Let me walk you through exactly how to figure out what’s wrong and, more importantly, how to fix it.
What Does “Trigger Not Registering Full Press” Actually Mean?
When your trigger doesn’t register a full press, the console or PC thinks you’re only pressing it partway down. In racing games, your car accelerates slowly. In shooters, your aim-down-sights might not work. The trigger physically moves all the way, but the input doesn’t match.
This happens on Xbox, PlayStation, and even high-end racing wheels. The symptoms are the same, but the causes vary.
Quick Test: Is Your Trigger Actually Broken?
Before you panic or order a new controller, do this simple test.
For Console Players:
- Go to your system settings
- Find “Devices” or “Controllers”
- Look for “Test Controller” or a similar option
- Pull the trigger slowly and watch the bar fill up
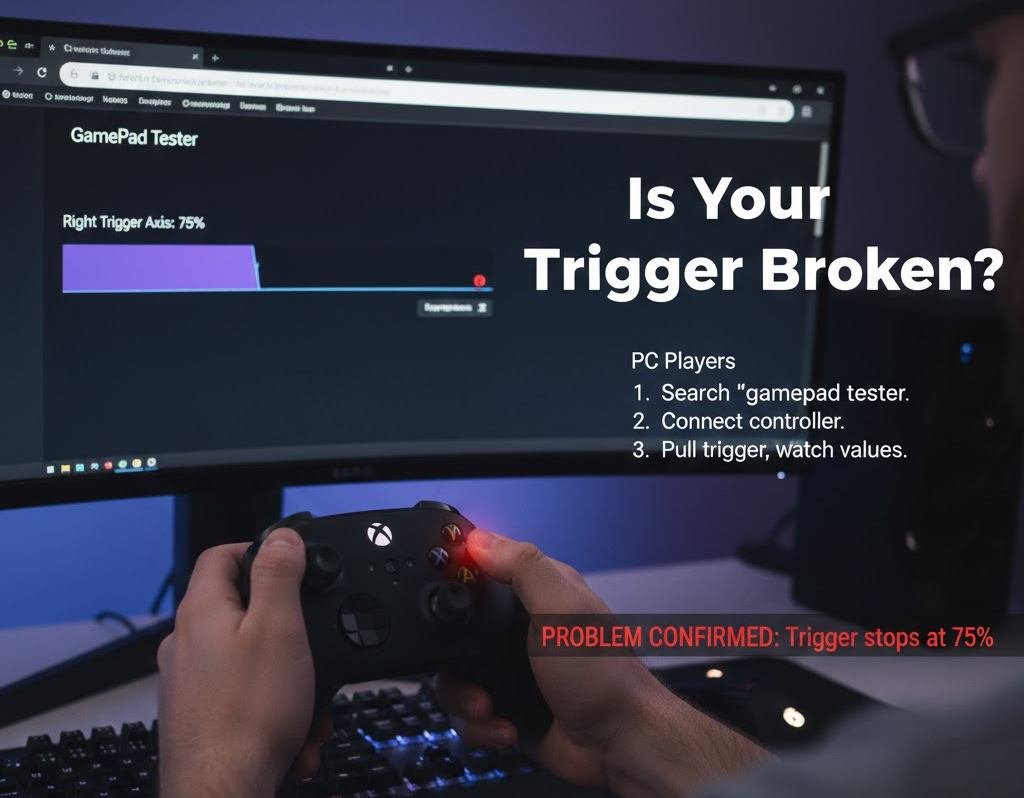
For PC Players:
- Open your browser and search for “gamepad tester.”
- Click on any free testing website
- Connect your controller
- Pull the trigger and watch the values
If the bar stops at 50% or 75% instead of reaching 100%, you’ve confirmed the problem. Now let’s figure out why.
Calibration Issues: Easy Fix Most People Miss
Here’s something that surprises most people: controllers can lose their calibration over time. It’s not always a hardware problem.
What Causes Calibration Drift?
Controllers remember their “neutral position” when you turn them on. If you’re holding the trigger slightly when powering up, or if dust interferes with the sensor reading, the controller thinks that position is “zero.”
Over hundreds of hours of gaming, these small errors add up.
How to Recalibrate Your Controller
Xbox Controllers:
Xbox doesn’t have a built-in calibration tool, but you can reset the controller:
- Hold the Xbox button for 10 seconds to turn it off completely
- Remove the batteries for 30 seconds
- Put batteries back in
- Turn on the controller while keeping all buttons and triggers completely untouched
PlayStation Controllers:
PS4 and PS5 have a hidden calibration feature:
- Turn off the controller
- Find the small reset button on the back (near L2)
- Use a paperclip to press it for 5 seconds
- Reconnect via USB cable
- Go to Settings, Devices, Controllers, and adjust trigger sensitivity if available
PC Controllers:
Windows has a calibration wizard:
- Open Control Panel
- Click “Devices and Printers”
- Right-click your controller
- Select “Game controller settings.”
- Click “Properties” then “Settings.”
- Click “Calibrate” and follow the steps
I fixed my own racing wheel this way after months of thinking it was broken. The calibration was off by about 15%, making full throttle impossible. Five minutes later, the problem was solved.
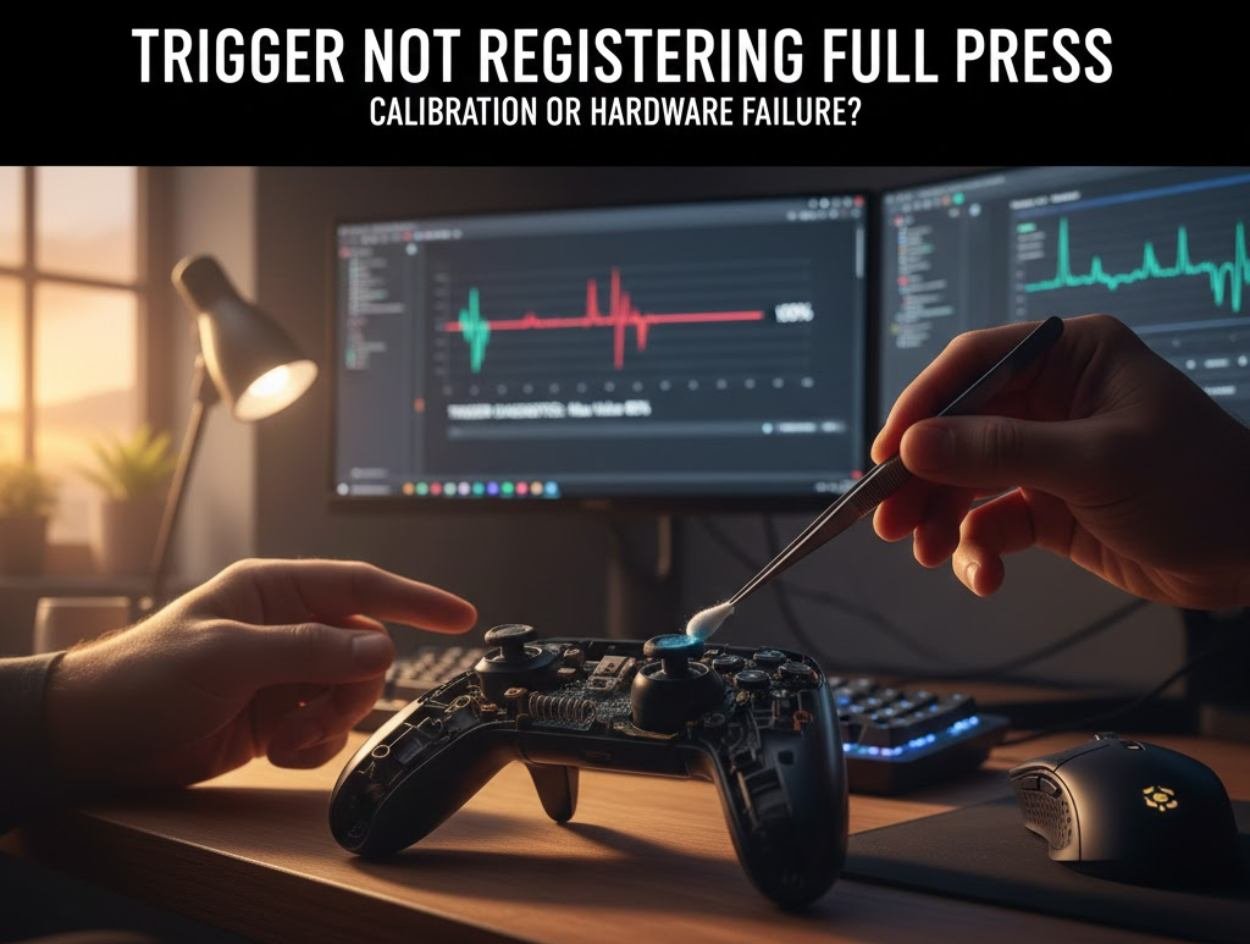
When Calibration Doesn’t Work: Hardware Problems
If recalibration doesn’t fix it, you’re dealing with hardware failure. Let’s break down the common culprits.
Worn-Out Potentiometers
Triggers use potentiometers to measure how far you’ve pressed. These are small components that wear out after thousands of presses.
Signs it’s the potentiometer:
- The trigger feels loose or gritty
- It works sometimes, but not others
- The input jumps around instead of moving smoothly
- You see the trigger value flickering on test screens
Potentiometers are replaceable if you’re handy with a soldering iron. Replacement parts cost $5 to $15 online. But if you’ve never soldered before, this isn’t the place to start.
Broken Trigger Springs
The spring returns the trigger to the neutral position. When it breaks or weakens, the trigger might not press down fully or return properly.
Signs it’s the spring:
- The trigger feels different from the other one
- It doesn’t snap back quickly
- It feels mushy or requires more force than before
Springs are easier to replace than potentiometers. You don’t need soldering, just careful disassembly.
Dirt and Debris Inside the Trigger Mechanism
This is more common than actual hardware failure. Dust, skin cells, food particles, and drink spills all accumulate inside controllers.
I once had a controller that stopped working after a small soda spill. I didn’t think anything got inside, but when I opened it up, there was sticky residue on the trigger mechanism.
How to clean it:
- Turn off and disconnect the controller
- Remove the battery or unplug it
- Use compressed air around the trigger base
- Spray in short bursts at different angles
- Let it dry completely before testing
For stubborn grime, you’ll need to open the controller. Use isopropyl alcohol (90% or higher) on a cotton swab to clean the trigger assembly.
Damaged Trigger Housing or Plastic Tabs
Sometimes the plastic pieces that hold the trigger in place crack or break. This usually happens after dropping the controller.
Signs of physical damage:
- The trigger feels loose or wobbly
- You can see visible cracks in the plastic
- The trigger sits at an odd angle
- You hear rattling when you shake the controller
This requires replacing parts or the entire controller housing. Replacement shells cost $15 to $30, but installation takes patience.
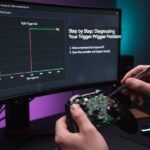
Step by Step: Diagnosing Your Specific Problem

Let’s create a decision tree to narrow down your issue.
Step 1: Does recalibration fix it?
- Yes → It was a calibration issue. You’re done.
- No → Continue to Step 2
Step 2: Does compressed air improve it?
- Yes → Dirt was blocking the mechanism. Clean thoroughly and test again.
- No → Continue to Step 3
Step 3: Open the controller and inspect visually
Look for:
- Broken plastic pieces
- Bent metal contacts
- Visible dirt or liquid residue
- Loose wires or connections
Step 4: Test the trigger mechanism manually
With the controller open, press the trigger by hand. Does it move smoothly? Does it return fully? Can you feel grinding or resistance?
Step 5: Check for obvious component failure
Look at the potentiometer (the small green or black component with three pins). Are any pins broken or bent? Is the potentiometer loose?
Real Stories from Real Gamers
A friend of mine plays Forza Horizon competitively. His right trigger stopped registering full throttle during a tournament. He thought his $180 controller was dead.
Turns out, a tiny piece of a snack chip had fallen into the trigger gap. Ten minutes with compressed air, problem solved. He went on to place third that day.
Another example: my nephew’s PS5 controller had trigger issues after six months. His dad was ready to buy a new one. I showed him the reset button trick. Instant fix. The controller had been powered on while sitting on the trigger, throwing off the calibration.
Preventive Maintenance: Stop Problems Before They Start
You can extend your controller’s life significantly with basic care.
Keep food and drinks away from your gaming area.
I know, I know. Everyone says this. But it’s the number one cause of controller problems I’ve seen personally.
Clean your hands before gaming.
Oil from your skin transfers to the controller and attracts dust. A quick hand wash makes a difference.
Store controllers properly
Don’t leave them on the floor where they can be stepped on. Don’t toss them on the couch where they can fall. Use a controller stand or dedicated spot.
Do monthly maintenance
Once a month, spend five minutes:
- Wipe down the controller with a microfiber cloth
- Blow compressed air around buttons and triggers
- Check for loose parts or unusual wear
This takes less time than waiting for a new controller to arrive.
When to DIY and When to Replace
Opening a controller voids most warranties. If your controller is less than a year old, contact the manufacturer first.
DIY makes sense if:
- Your controller is out of warranty
- The fix is simple (cleaning, recalibration)
- You’re comfortable with basic disassembly
- Replacement parts are cheap and available
Buy a new controller if:
- Multiple things are broken
- You’ve never opened electronics before and feel uncomfortable
- The controller is very old and is showing other problems
- A replacement costs less than your time and parts
I’ve repaired about a dozen controllers over the years. The success rate for simple issues like cleaning and recalibration is nearly 100%. For potentiometer replacement, it’s about 60% unless you have soldering experience.
Bottom Line on Trigger Not Registering Full Press
Most trigger problems are calibration or dirt. These are easy fixes that take under 10 minutes. Hardware failure is less common but still fixable if you’re willing to learn.
Start with the simplest solution: recalibrate. Then clean. Then open and inspect in that order.
Don’t assume your controller is dead until you’ve tried the basics. I’ve saved hundreds of dollars over the years by spending 15 minutes troubleshooting instead of immediately buying new gear.
And remember, controllers are meant to be used hard. Some wear is normal. But with proper care and occasional maintenance, they can last years instead of months.
Got a trigger that’s still not working after trying these fixes? It might be time for a professional repair or replacement. But at least you’ll know you tried everything reasonable first.