

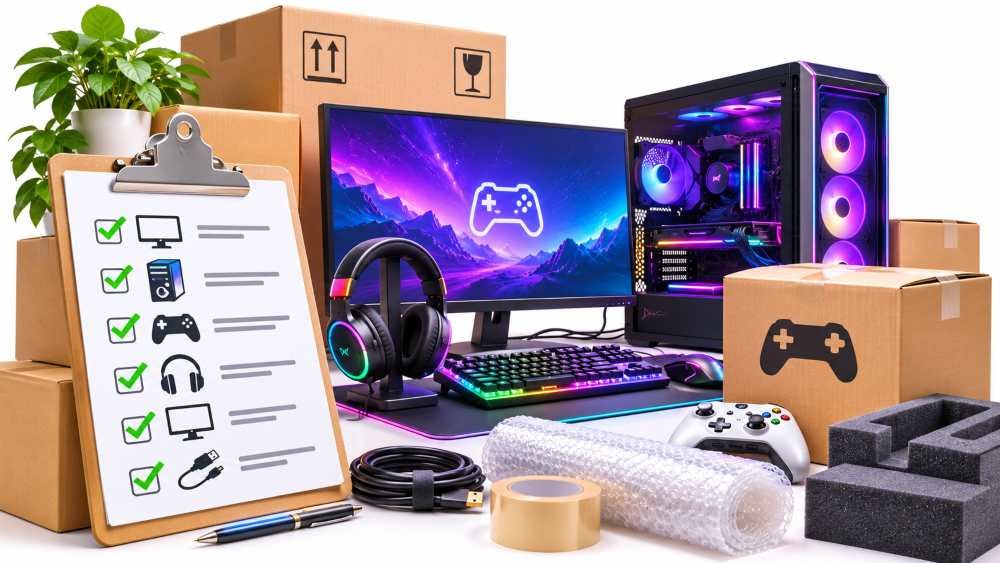
You’ve spent months, possibly years, building your ideal gaming setup. From your high-performance PC and monitors to your mechanical keyboard and carefully chosen accessories, every piece has its place. The thought of packing it all into boxes and moving it to a new home can be stressful, especially when you add up what everything cost.
The good news is that most moving damage to gaming gear is preventable. It rarely comes from a dramatic drop. It comes from small things: a heavy air cooler flexing the motherboard over hundreds of miles of road vibration, a monitor laid flat under a box of books, or a PC powered on while it’s still cold from the truck. This checklist covers those details, in the order you’ll actually need them.
Start Two Weeks Out: Build A Simple Inventory
Before anything goes into a box, walk around your setup with your phone and record what you own. Note the model and serial number of your PC components, monitors, headset, controllers, and any capture cards or microphones. Photograph each item from a couple of angles so its current condition is on record.
This takes about twenty minutes and pays off in two ways. If something arrives damaged, you have proof of its condition before the move, which matters for any insurance or mover claim. And if a box goes missing, you know exactly what was in it.
While you’re at it, book your internet installation at the new address now. Providers in busy areas can be booked out for a week or more, and a perfectly packed rig is not much use without a connection.
Back Up Your Important Files
Before you start unplugging anything, make sure you’ve backed up your important files. Most moves go smoothly, but a PC that gets dropped or jolted hard can lose a drive, and an SSD that fails takes everything with it.
Use an external hard drive or cloud storage to save your game files, personal documents, settings, and anything else you wouldn’t want to lose. Don’t assume everything is automatically saved to the cloud. Plenty of games, especially older titles, emulators, and modded installs, keep saves in local folders that no launcher syncs.
A few things gamers often forget to back up:
- Mod folders and load orders. Rebuilding a heavily modded game from memory can take an entire weekend.
- Peripheral profiles. Mouse DPI settings, keyboard macros, and RGB lighting profiles often live only in the manufacturer’s software on your PC.
- OBS and streaming scenes. Export your scene collections and profiles if you stream or record.
- Controller and emulator configs. Custom button mappings are tedious to recreate.
If you want a reliable rule to follow, the 3-2-1 backup approach is a good standard: three copies of your data, on two different types of storage, with one copy kept somewhere else. During a move, “somewhere else” simply means a copy that isn’t travelling in the same box as your PC.
Save Your Encryption Recovery Key
This one catches people off guard. Many Windows PCs have drive encryption switched on by default. If the move leads you to reset the BIOS, reseat hardware, or update firmware afterwards, Windows may ask for a 48-digit recovery key before it will boot.
Before you power down for the last time, find your BitLocker recovery key and store it somewhere you can reach from your phone. Without it, the encrypted drive cannot be unlocked, and your backup becomes your only option.
Take Photos Of Your Setup
If you’ve spent hours perfecting your cable management, you’ll appreciate having a visual reference when it’s time to rebuild everything.
Take clear photos of the back of your PC, monitor connections, power strips, and any complicated wiring. Pay extra attention to which monitor is plugged into which GPU port, since swapping them can reset your display arrangement and refresh rate settings.
Label your cables as you unplug them. Masking tape and a marker work fine, or use coloured cable ties: one colour per device. Then bag each device’s cables together in a zip-lock bag and tape it to that device’s box. It sounds fussy, but it’s the difference between a 30-minute setup and an evening hunting for the right DisplayPort cable.
Pack Your PC Carefully
Your gaming PC is probably the most expensive part of your setup, so it deserves extra attention.
If you still have the original packaging, use it. Otherwise, choose a sturdy box with plenty of cushioning on all six sides. Leave no room for the case to slide around.
The real risk is inside the case, not outside it. Large components act like levers on the motherboard when the case is shaken for hours. For PCs with heavy graphics cards, consider removing the GPU and packing it separately in an antistatic bag. Here’s how to handle the other parts that commonly cause trouble:
| Component | Risk During Transport | What To Do |
| Large graphics card | Bends the PCIe slot or cracks the board | Remove it and pack it separately, or fit a GPU support bracket |
| Heavy tower air cooler | Flexes the motherboard around the CPU socket | Remove it for long moves, or pack the case lying on its side so the weight presses straight down |
| AIO liquid cooler | Radiator and tubes shift, mounts loosen | Leave it installed but check that tubes aren’t pinched against other parts |
| Custom water loop | Leaks onto live components | Drain the loop completely before moving |
| Hard drives (HDD) | Moving parts are sensitive to shocks | Back up first and add extra padding around the case |
| Tempered glass side panel | Cracks or shatters | Remove it, wrap it in a towel, and pack it flat in its own box |
A simple trick that works well: fill the empty space inside the case with anti-static bubble wrap or clean, uninked packing foam. This stops loose cables and components from rattling around. Just remember to take it all out before you power on.
Make sure your PC is completely powered down and disconnected before moving it.
Protect Your Monitors And Accessories
Monitors are surprisingly fragile, especially large curved screens and OLED panels. Ideally, you should transport them in their original boxes with the protective inserts.
If those aren’t available, use suitable screen protection, cushioning, and sturdy boxes designed for monitors. Avoid putting any pressure directly on the display. Always transport monitors standing upright, the way they’d sit on a desk, and never lay them flat with other boxes stacked on top. Detach the stand to make the package slimmer and less likely to snap at the neck.
Pack your keyboard, mouse, headset, controllers, and other accessories separately to prevent scratches or accidental damage. A few small habits help:
- Remove batteries from wireless controllers and mice to avoid leakage.
- Put USB dongles and receivers in a labelled bag. They’re tiny and easy to lose.
- Keep your headset in its case or wrap the headband so it isn’t bent under pressure.
- Pack microphones and capture cards in their original boxes if you still have them.
Plan Your Transportation
Don’t leave transportation arrangements until the last minute. If you’re moving a considerable distance, think carefully about how you’ll transport your gaming equipment alongside your other belongings.
You might decide to keep your most valuable electronics with you rather than load them into a moving truck. That way the PC stays in a climate-controlled car, you control how it’s handled, and it’s never at the bottom of a stack. If you’re relocating to Washington, DC, services such as car transporters in Washington could help you organize the vehicle side of your move.
If your gear does go with a professional mover, check how their liability coverage works before signing. Basic coverage on interstate moves is often based on the weight of an item, not its value, which can leave you badly underpaid for a lightweight but expensive GPU. The FMCSA’s Protect Your Move resource explains your rights on interstate moves and how to check that a mover is properly registered.
Whatever you decide, make sure your equipment is properly secured and protected against movement during transit. In a car, a PC box sits best on the floor behind a seat, wedged so it can’t tip over.
Check Everything Before Setting Up
Once you’ve arrived, resist the temptation to immediately plug everything back in.
If your equipment has been in a cold truck or car, give it a few hours to reach room temperature before powering it on. Moving cold electronics into a warm room can cause condensation to form inside, and electricity plus moisture is the one combination you really want to avoid.
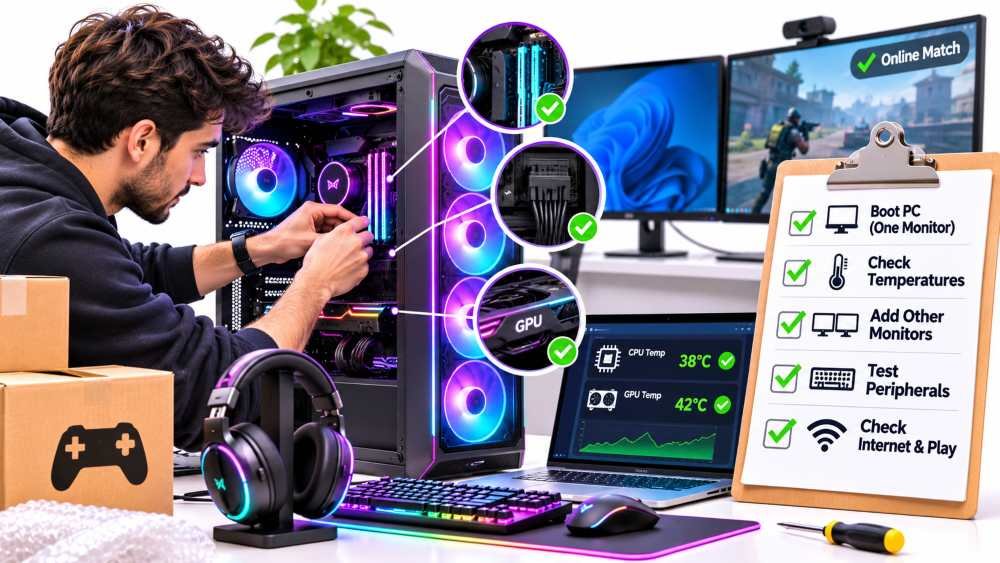
Inspect your PC, monitors, and accessories for visible damage. Open the side panel and check that internal components haven’t shifted during transportation. Press gently on the RAM sticks and GPU to make sure they’re fully seated, confirm the power cables are clicked in, and remove any packing material you put inside the case.
When everything looks good, reconnect your equipment using the photos you took earlier. Then test in a sensible order:
- Boot the PC with one monitor. Confirm it reaches the desktop without errors.
- Check temperatures. Use a free monitoring tool to make sure the CPU and GPU temps look normal at idle, which tells you the cooler is still seated properly.
- Add your other monitors. Reapply your refresh rate and resolution settings, since these sometimes reset.
- Test your peripherals. Reload your saved keyboard, mouse, and lighting profiles.
- Check your internet connection. Run a speed test and a quick online match before you settle in.
- Run a short stress test or a demanding game. Twenty minutes of load will reveal most loose-connection or cooling problems.
Make Your Next Move Stress-Free
Moving an expensive gaming setup doesn’t have to be a nightmare. By backing up your data, saving your recovery key, packing heavy components with care, and planning transportation in advance, you can significantly reduce the risk of damage. Keep your inventory list and labelled cable bags afterwards too. Next time you move, half the work is already done, and you’ll spend less time troubleshooting and more time enjoying your favorite games in your new home.
Disclaimer: This article is for general information only. Hardware varies, so always follow your manufacturers’ guidelines, and confirm insurance or mover coverage directly with the provider before your move.